
Picture yourself stepping into a 1970s classroom. There’s that unmistakable squeak—chalk dragging across the blackboard—while your teacher scribbles out some tricky equation. In your pencil case, a slide rule sits, looking both mysterious and slightly intimidating. Honestly, most of us never really figured those things out, but they sure looked impressive.
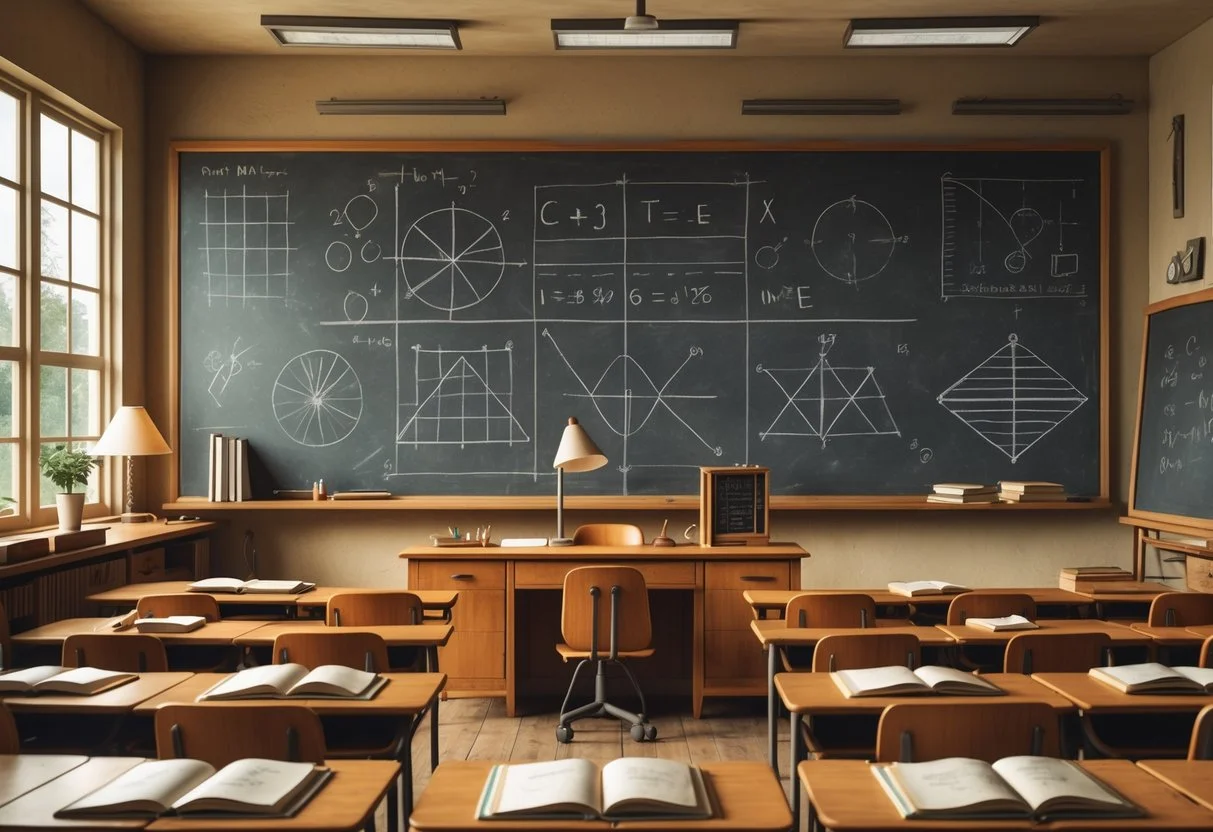
The 1970s really were the last hurrah for blackboards, chalk, and slide rules before electronics swept through and changed everything.
Those old-school tools weren’t just gathering dust—they shaped the way a whole generation learned to think through maths and science problems, sometimes with a bit of frustration but always with a certain hands-on charm.
Back then, before calculators were everywhere, we learned numbers by actually working with them. The changeover to electronic gadgets didn’t happen overnight. For a while, British classrooms were this odd mix of old and new—chalk dust in the air, but the future humming just around the corner.
Everyday Classroom Tools in 1970s Maths and Science

Blackboards and chalk ruled every maths and science lesson, setting the tone for learning—and, let’s be honest, for a lot of sneezing and dusty jumpers. These simple tools shaped the way we learned equations, formulas, and scientific ideas, all while creating those unforgettable sensory memories: chalk dust, the squeak of the board, and the thud of erasers.
The Role and Design of Blackboards
The blackboard was the heart of every 1970s classroom. Teachers leaned on those big, dark rectangles to break down equations or sketch out science diagrams for everyone to see.
Most blackboards were slabs of slate or painted wood, bolted right onto the front wall. The dark green or black background made the chalk pop—well, most of the time, unless someone had left the board a bit too smeary.
Some blackboard basics:
- Size: Usually stretched 2-3 metres across
- Height: Set right at teacher eye level
- Surface: Smooth slate or painted wood
- Mounting: Fixed to the wall, no moving it around
Science teachers would cover the board with molecules and physics diagrams, while maths teachers filled every corner with algebra. The sheer size meant no one could really claim they couldn’t see—though, if you sat at the back, you might have tried anyway. Teachers loved using those wooden pointers, tapping out each step as they went.
Chalk and Chalkboards: Features and Challenges
White and coloured chalk were as much a part of the classroom as the bell. Teachers stashed boxes of chalk in their desks, always ready to grab a new stick or switch colours for emphasis.
Writing with chalk took a bit of skill. Hold it wrong and you’d get that nails-on-chalkboard screech everyone hated. Press too hard and—snap!—you’d be left with a stub.
Chalk colours you’d see:
- White: For most writing and numbers
- Yellow: To highlight things you’d better remember
- Red: Errors, warnings, or just to grab your attention
- Blue: Diagrams and charts
Felt erasers collected all that chalk dust, and sometimes teachers would send students out to clap them clean—usually the ones who needed to burn off some energy. Chalk didn’t last long, so teachers got pretty good at making it stretch through a lesson.
Chalk Dust and Classroom Environment
Chalk dust just hung in the air in those days. Every lesson, you’d see little clouds drifting down onto desks, books, and, unfortunately, your school uniform.
Teachers’ hands and sleeves always seemed to be dusted white by the end of the day. If you sat up front, you were bound to get a face full of powder now and then—or sneeze at the worst possible moment.
Chalk dust meant:
- White smudges on your blazer or jumper
- Dusty desks and books
- The occasional tickle in your throat
- Constant need to wipe and clean
Wiping the whole board at once created the biggest clouds. Some teachers figured out how to erase gently, but most just went for it and let the dust fly.
Still, nobody really complained much. Chalk dust was just part of the deal. The smell, the feel, even the mess—it’s hard not to look back on it with a little fondness. It was just how school felt.
Slide Rules: The Essential Calculation Device

Before calculators took over, slide rules were the go-to gadget for maths and science. They looked a bit like rulers but hid all sorts of cleverness—logarithmic scales that let you multiply, divide, and even tackle square roots with a bit of practice.
Structure and Types of Slide Rules
A slide rule had three main bits: the outer body, a sliding inner part, and a clear cursor with a little hairline. Both body and slide were covered in numbers and tiny divisions.
Most slide rules you saw in school were straight and rectangular, usually about 10 or 25 centimetres long. They might be made from wood with plastic overlays or just all plastic.
Circular slide rules took a different approach. Instead of straight scales, the numbers ran around a disc. You’d twist the inner bit to line things up, and—if you did it right—get a pretty accurate answer.
The circular ones packed longer scales into a small space, so you could get a bit more accuracy without needing a gigantic ruler. Some engineers swore by them because they fit in a pocket, though I always thought they looked a bit like something from a sci-fi film.
Some slide rules had extra scales for special subjects. Engineering ones had trig functions, business versions had percentages and interest rates—there was a slide rule for nearly everything.
How Slide Rules Work: Multiplication and Division
Slide rules multiplied by adding logarithms and divided by subtracting them—but honestly, you didn’t need to know the maths behind it. The scales did the heavy lifting.
To multiply, you’d line up the left index of the C scale with your first number on the D scale, find your second number on the C scale, and read the answer right below on the D.
Say you wanted 3 × 4:
- Set the C scale’s left index to 3 on the D scale
- Find 4 on the C scale
- Look down and see 12 on the D scale
For division, you’d line up the divisor with the dividend, then read the result at the index.
How accurate were they? Well, a 25-centimetre rule could get you three digits, which was usually good enough for homework or even some real engineering.
Using Circular and Virtual Slide Rules
Circular slide rules worked just like the straight ones, but you twisted the disc instead of sliding a bar.
The big plus was that you got longer scales in a small package—a 10-centimetre circular rule could match a 30-centimetre straight one for precision.
To multiply, you’d set the index on the inner disc to your first number on the outer ring, find your second number on the inner disc, and read the answer on the outer scale.
Virtual slide rules started popping up as computers crept into schools. These digital versions looked and acted like the real thing, but you moved the scales with a mouse. It was a bit clunky, but kind of cool in a retro-futuristic way.
As computers got cheaper, and calculators even more so, the slide rule started fading away. By the late 1970s, most students had left them behind for good.
Transition to Electronic Calculators and Whiteboards
By the late ’70s and early ’80s, everything started to change. Suddenly, calculators and whiteboards were showing up, and the old ways didn’t seem quite so permanent after all.
The Rise of Electronic Calculators in Schools
Electronic calculators shook up maths lessons in ways nobody really saw coming. Before that, we’d slog through calculations by hand or with slide rules, and it could take ages.
The first calculators showed up around 1975. They were pricey and pretty basic—just the four main functions, and those red LED displays that ate batteries for breakfast.
What those early calculators offered:
- Add, subtract, multiply, divide (that’s about it)
- Red LED numbers
- Ran on batteries (which never seemed to last)
- Cost £20-50 (not cheap back then)
Teachers didn’t all agree on calculators. Some thought they’d make us lazy, forgetting how to add in our heads. Others figured they’d help us tackle bigger, messier problems.
By 1980, calculators were way more affordable. You could pick one up for under a tenner, so most families could manage it.
Schools started making rules—no calculators for basic sums, but you could use them for the tough stuff. It was a new era, but, looking back, I do miss the days when a pocket full of chalk dust and a battered slide rule meant you were ready for anything.
From Chalkboards to Whiteboards
Whiteboards started popping up in schools sometime in the late 1970s. Maybe you remember seeing those glossy white panels right next to the old familiar blackboards.
Back then, teachers swapped out chalk for these felt-tip markers—no more clouds of dust clinging to your sleeves or floating in the air. Writing looked cleaner, and you didn’t go home with dusty hands.
Advantages of Whiteboards:
- No chalk dust
- Brighter, clearer writing
- Easier to clean
- Better contrast for reading
But honestly, whiteboards weren’t perfect. Markers cost a small fortune and dried up just when you needed them. That marker smell? It could fill a classroom in no time, and not everyone loved it.
For a while, schools just kept both boards around. You’d spot whiteboards rolled out for special lessons, while chalkboards still handled the everyday stuff. I suppose it made sense—budgets were tight, and nobody could just toss out all the old boards overnight. That switch dragged on for years, not months, and it felt like classrooms were always somewhere in between.






Leave a Reply